|
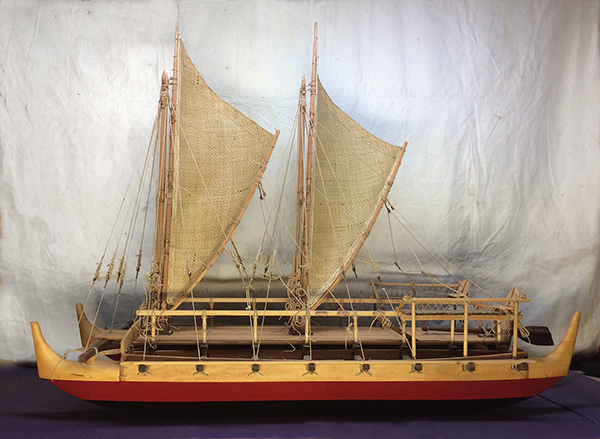
ManaiakalaniModel Voyaging Canoe based on Hokule‘aRDK Herman, 2017 |
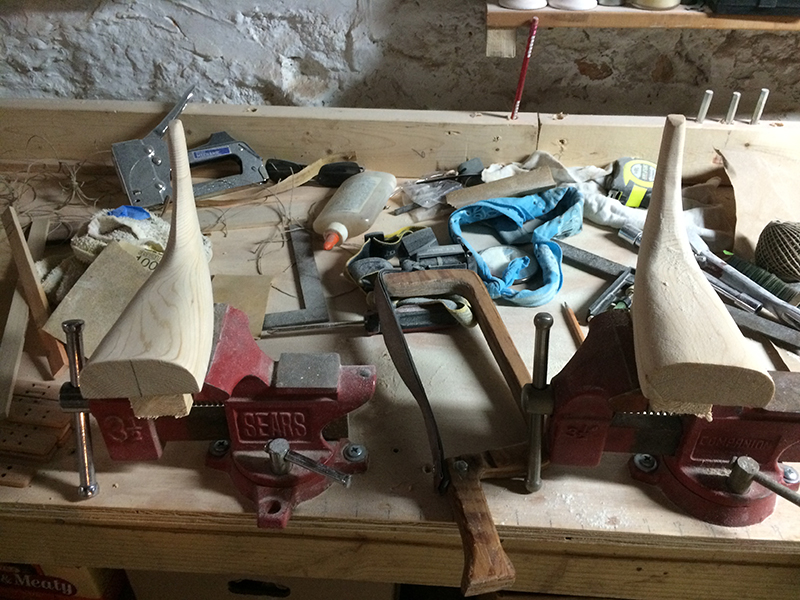
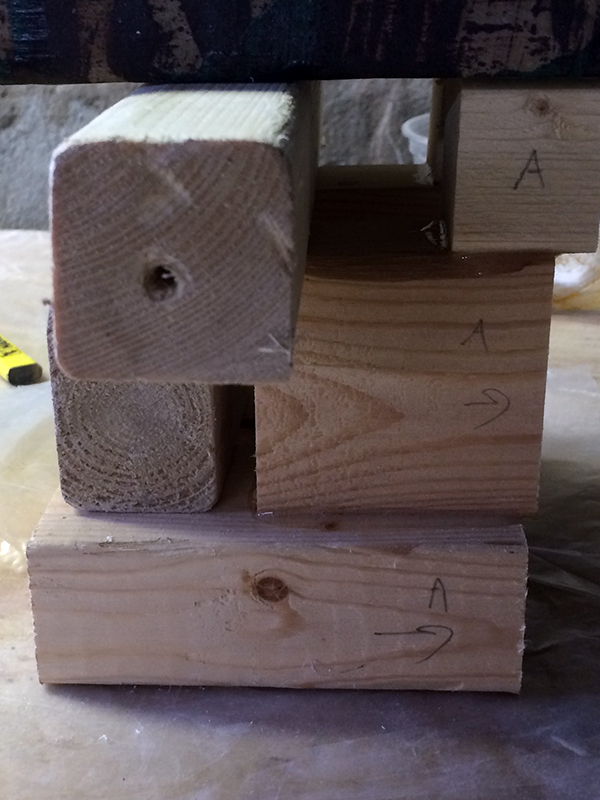
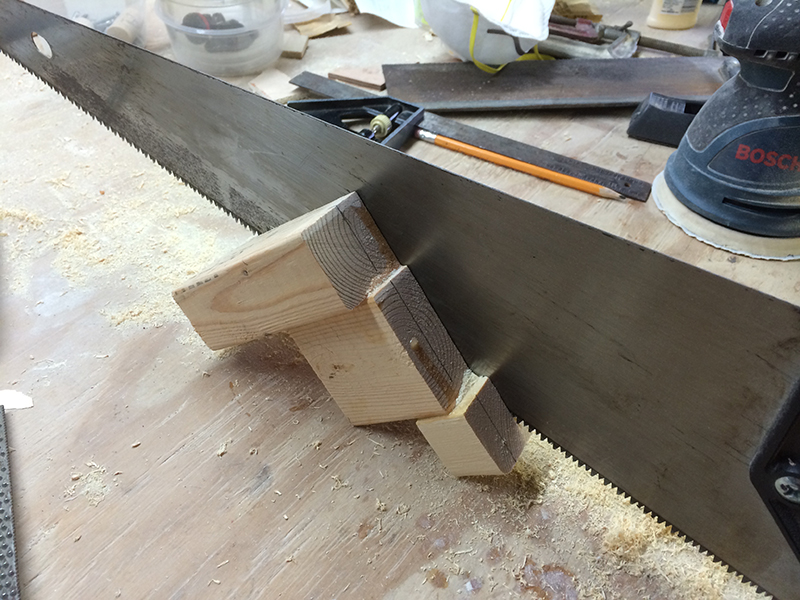
MANU: I had really looked forward to making the manu—those lovely, graceful bow and stern pieces. No more stitch and glue, or just cutting things out with a band saw. This required actual carving. I made a set and was pretty pleased with them. Then I realized I had made them wrong, and had to make a whole new set. This was perhaps the first time, but certainly not the last time, that I had to undo something and do it all over again. But I was determined to do it right. As Hokulani Holt-Padilla once said to me, "If you're going to build a canoe that can go 2500 miles and back, 'good enough' is not good enough." I stuck by that when I built Namaka‘iwa, and stuck by it building this model as much as I could. Carving the manu was fun. I stacked up three blocks of pine from 2x4's and 2x2's, in roughly the shape I needed so I could carve them down. These I glued together like a staircase to give the angle of the manu. Then it was a matter of sawing these as close down to size as I could, before carving and sanding the final shapes.
|
|
|
|
|
|
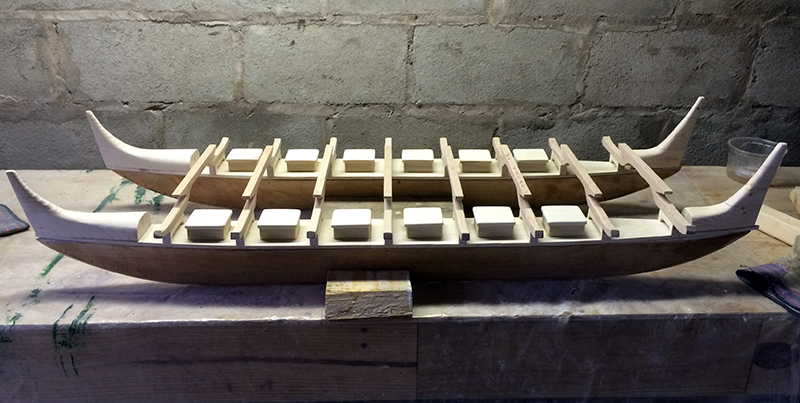
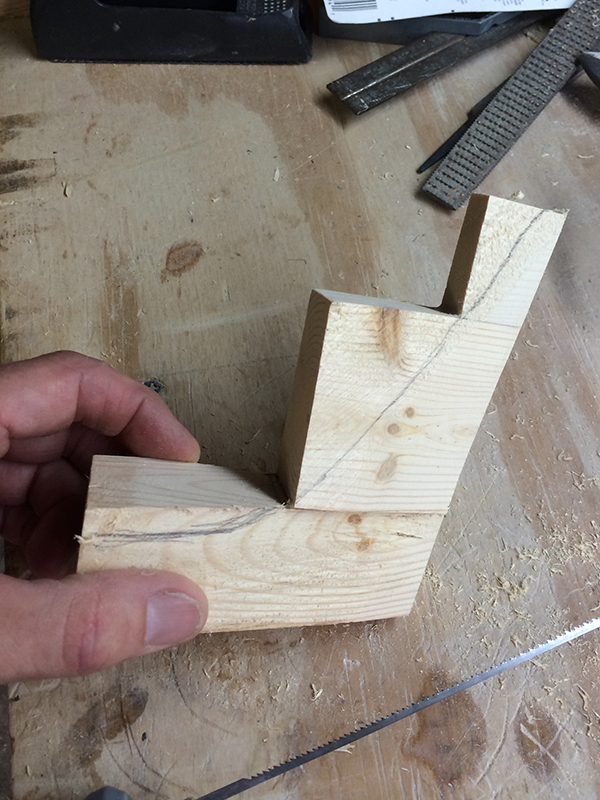
What I had not realized was that the manu do not sit on top of the deck but, like the deck itself, overhang the hulls:
Mine looked wrong:
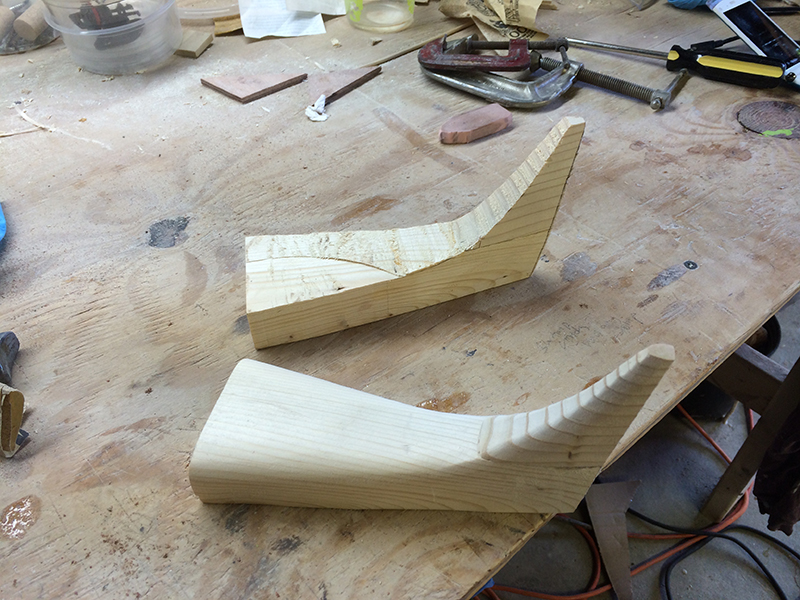
And so I set them aside, nice as I thought they were, and started all over again. In the end, I did a better job on the new ones than on the originals. To shape them, I screwed a piece of 2x2 to the bottom (knowing the bottom would never be seen once the canoe was assembled) and used that to clamp and hold it. I used the jigsaw as much as I could to round the curves, and then resorted to this ingenious tool made by my late step-father George E. Reid Jr., who made decoys. It's a plywood handle with a strip of sandpaper stretched between the two ends. I reinforced the sandpaper strip with a piece of rubber, and it works quite well. Since then I have discovered flexible sandpaper—more on that later. But for shaping curves, this tool was great.
Now it was finally time to put a deck (pola) on this baby. |
|
|
|