|
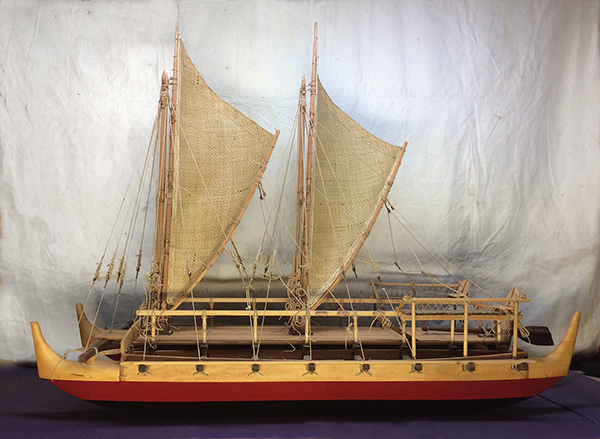
ManaiakalaniModel Voyaging Canoe based on Hokule‘aRDK Herman, 2017 |
SMALL PIECES: Cleats, Pepeiao, Pueo & Paddles
Back when I had first started this project, in 2013 I think, I was in Honolulu talking with Jay Dowsett, one of the Hokule‘a builders, and told him I was building this four-foot model. "What kind of wood are you going to use for the paddles?" he asked. I hadn't thought about it yet. Then he snatches up a block of koa, about an inch-and-a-half square and about 10-12 inches long, and says "This should about do it." He put masking tape over one long side of the block and traced out the shape of a paddle. Then he went over to his band saw and cut out the shape he had drawn, then sliced it into three half-inch-thick paddle blanks. "Here you go," he said. And so there is one part of this model that is actually made of koa.
|
|
|
My first attempt.
|
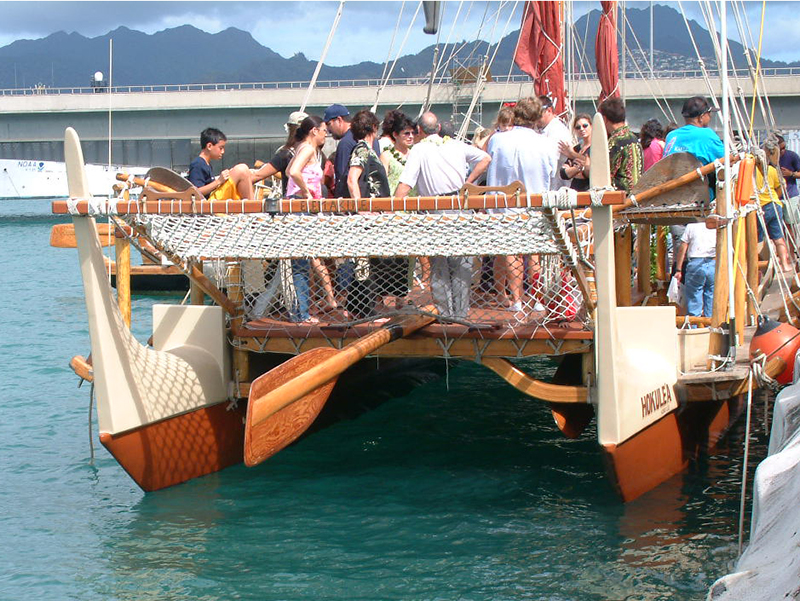
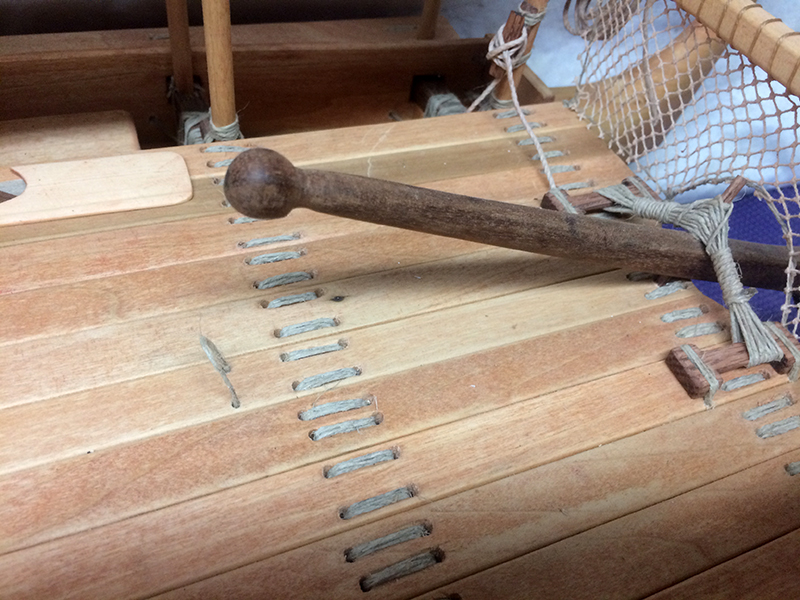
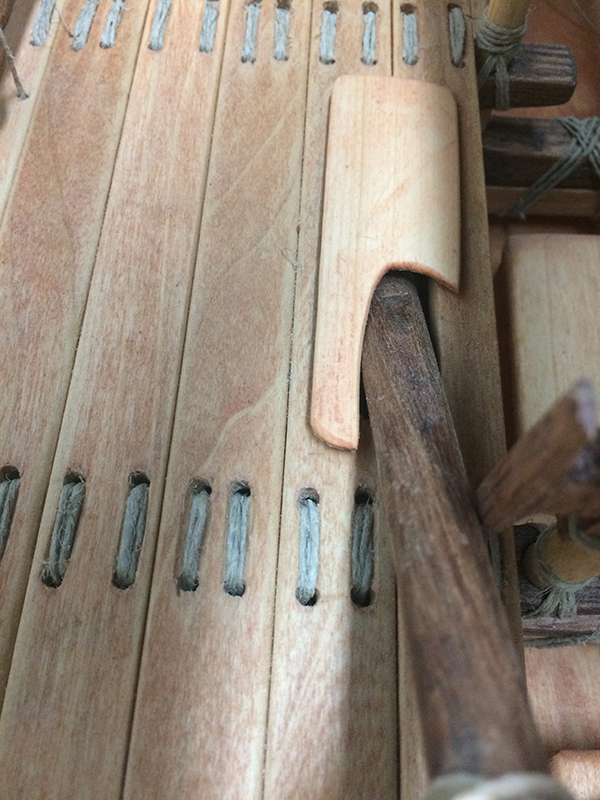
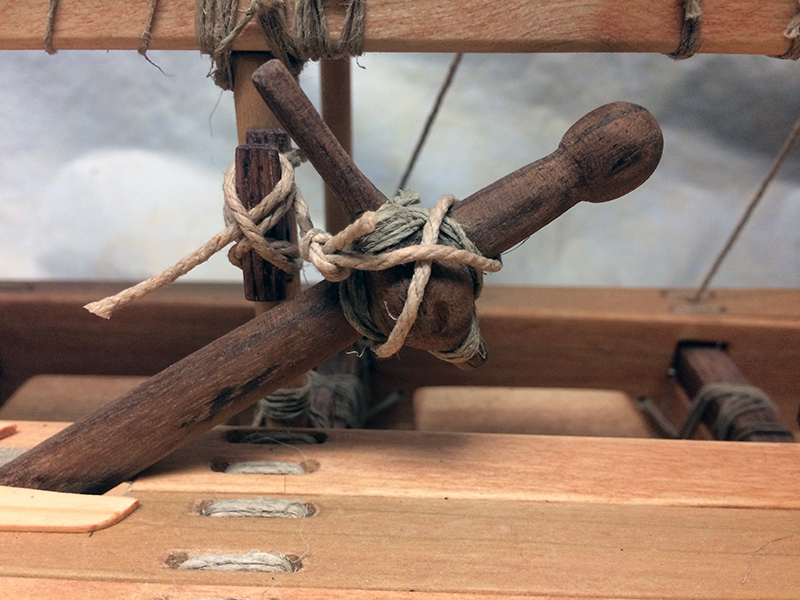
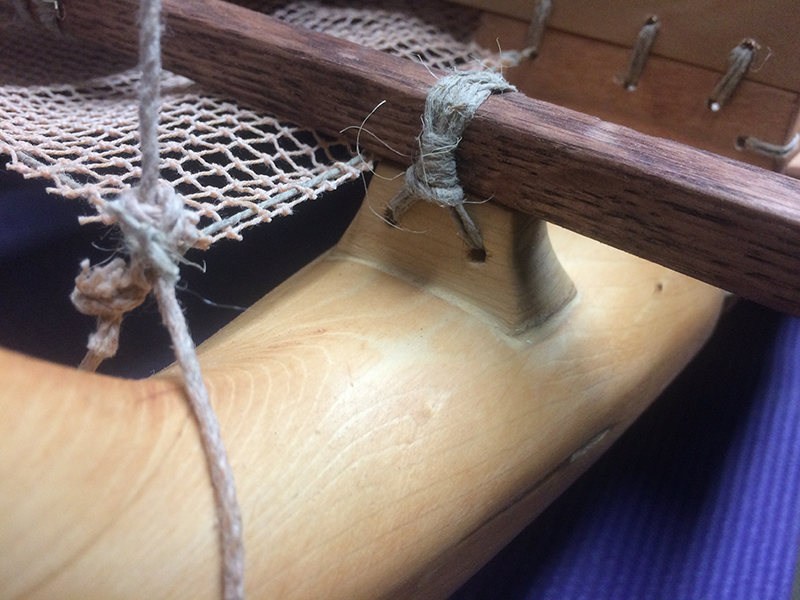
When I finally got around to trying to carve these paddles a few years later, I at first found the koa remarkably tough and difficult, prone to splinter. I later determined that my chisels were dull, and set about some serious sharpening. For the steering paddle, I needed to make the rig that attaches it to the deck. Following Hokule‘a, I made two I-shaped pieces out of oak, hollowed out under the long part of the "I", and lashed these to the deck. I then made a mount with a post (bamboo skewer again, I think) for the paddle itself, and lashed it in the manner of Hokule‘a. The post sits in a grove that allows the paddle to be raised and lowered, in addition to moving from side to side.
|
|
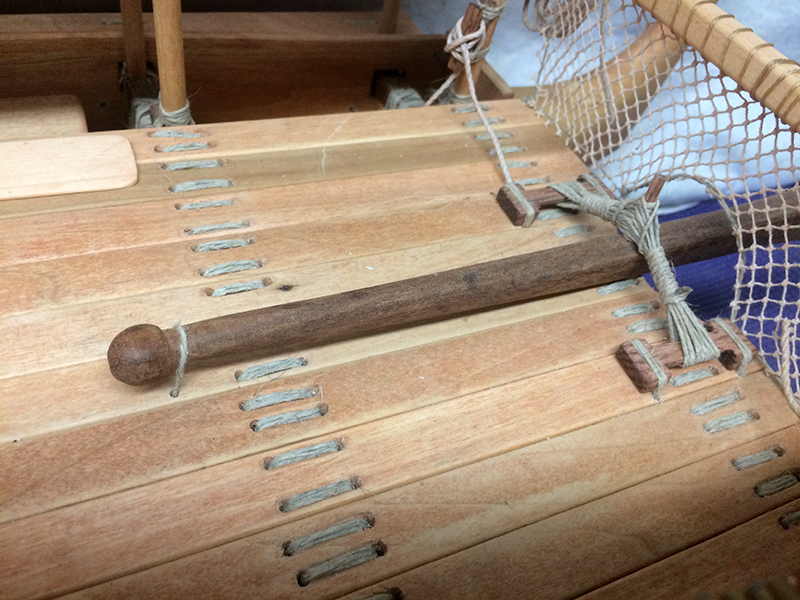
Completed steering paddle (hoe).
|
Top view of the lashing. |
|
...and then released and raised when needed.
|
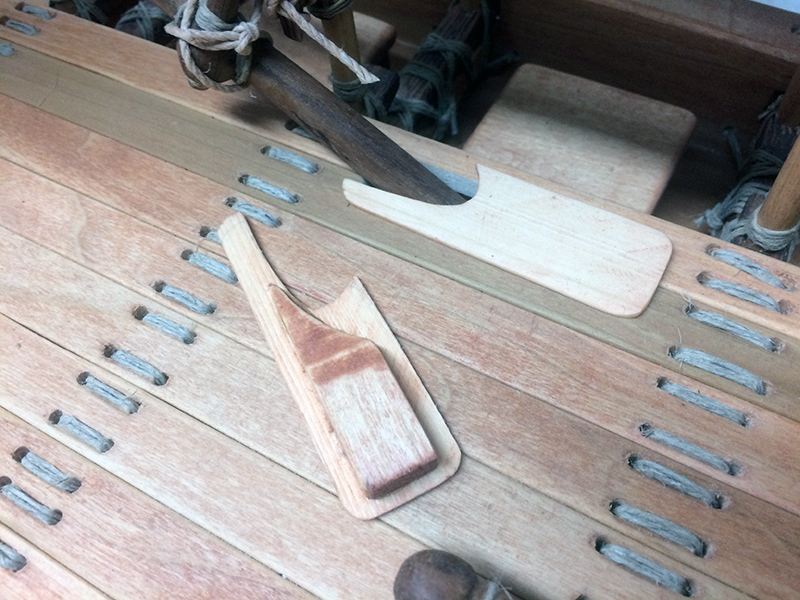
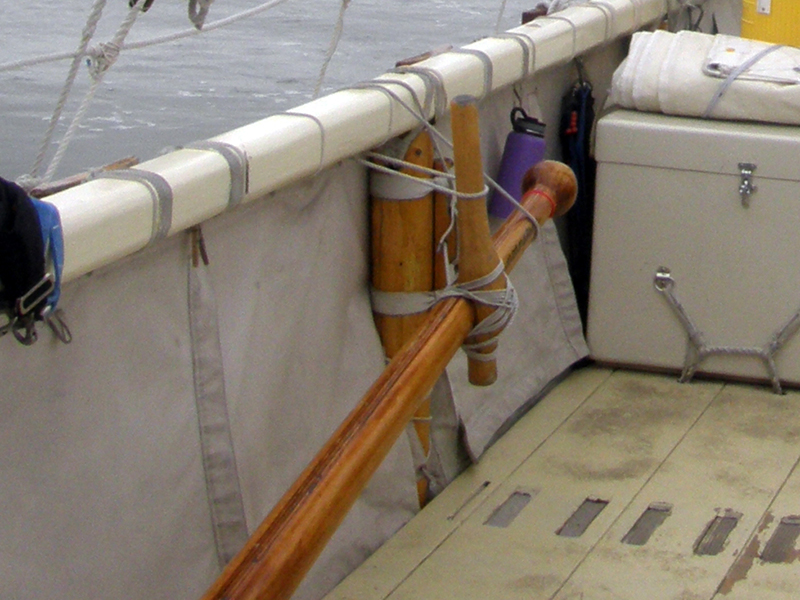
There are three paddles on these crafts: the hoe, or steering paddle, and two steering sweeps, one for each side. I've never seen these in use, but am told that they assist with turning the canoe, kind of like putting down a centerboard to create a pivot point. The sweeps have handles on them, and so I had to make these too, and lash them on. That was fun.
|
|
|
|
|
|
Of course making the sweeps also involved cutting holes in the deck, and making those thin hatch covers. I used pine, which again I sliced down as thin as I could and then glued insets on the bottom to hold them in place. It took a lot of adjustment and grinding to get these to fit just right. At least one of them broke in the process and needed to be made all over again. Phew!
|
|
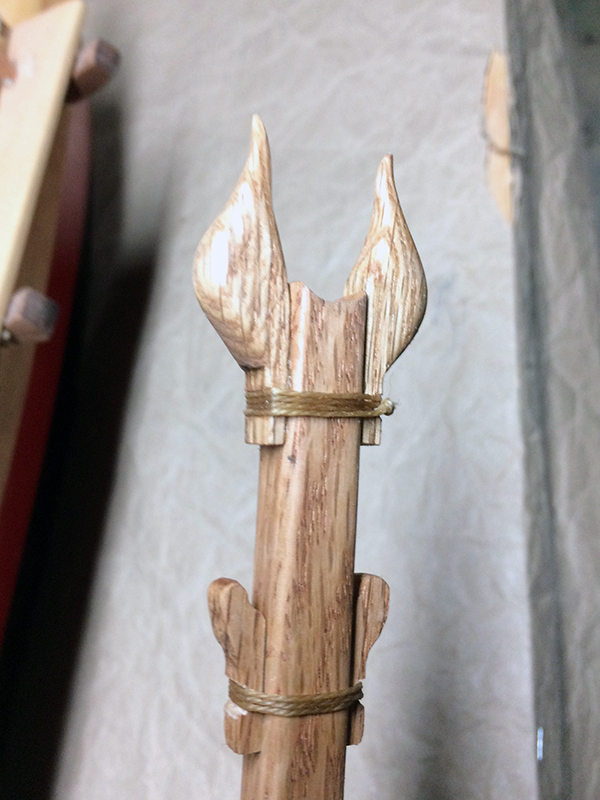
Then there were assorted small pieces I needed to make. Cleats—lots of them. Pepeiao, or "ears," the attachments to the mast and spar through which the halyards pass. And the pueo, "owls," that go atop the masts. I used oak for all of these, as I did for the masts, spars and booms. The pueo were fun because of their elegant curves. The trick was to get two that were identical. The first two I made, one was a little taller than the other, so I carefully made matches for each of them.
|
|
|
|
|
|
|
|
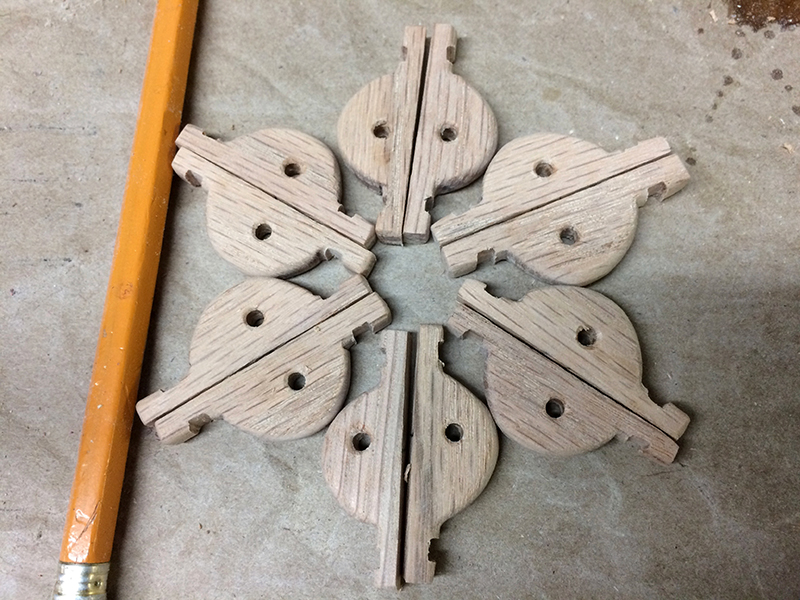
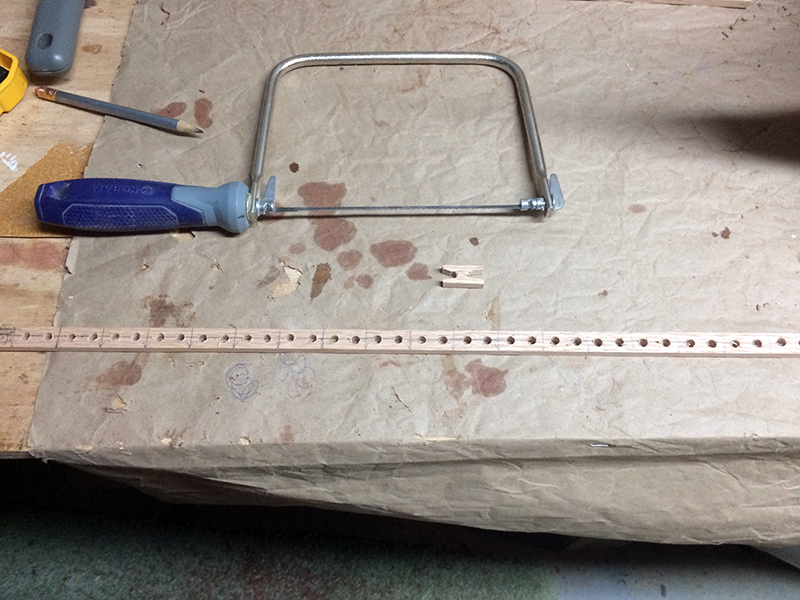
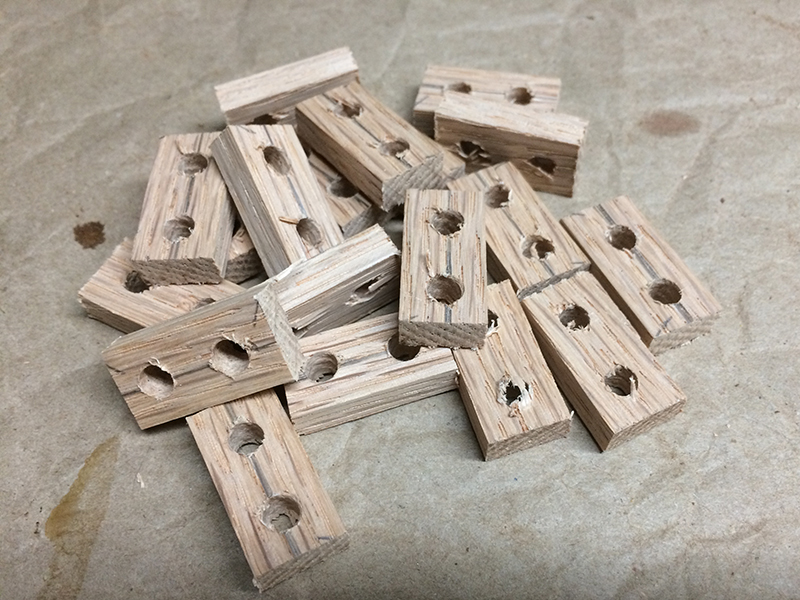
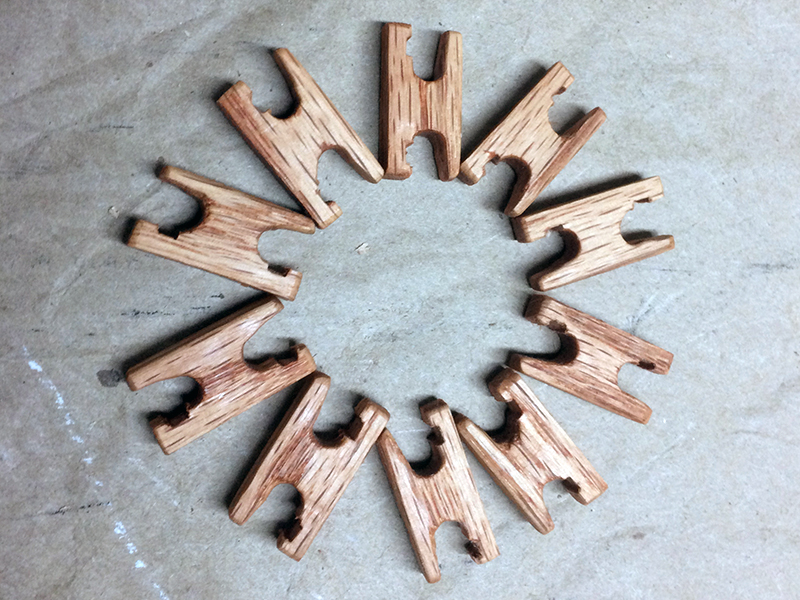
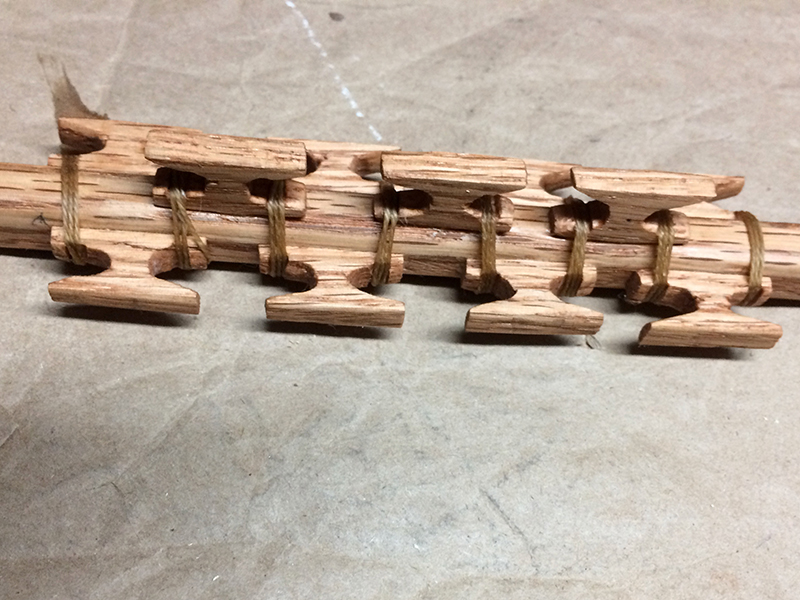
Then there are the cleats. The first one I made was too large, so I reconsidered the proportions and determined that one inch was the proper length. I then ripped a piece of oak to the right width (I think half an inch) and marked out one-inch increments. Then after some experimentation, I determined how I could drill holes to get the round inner curve.
|
|
|
|
|
|
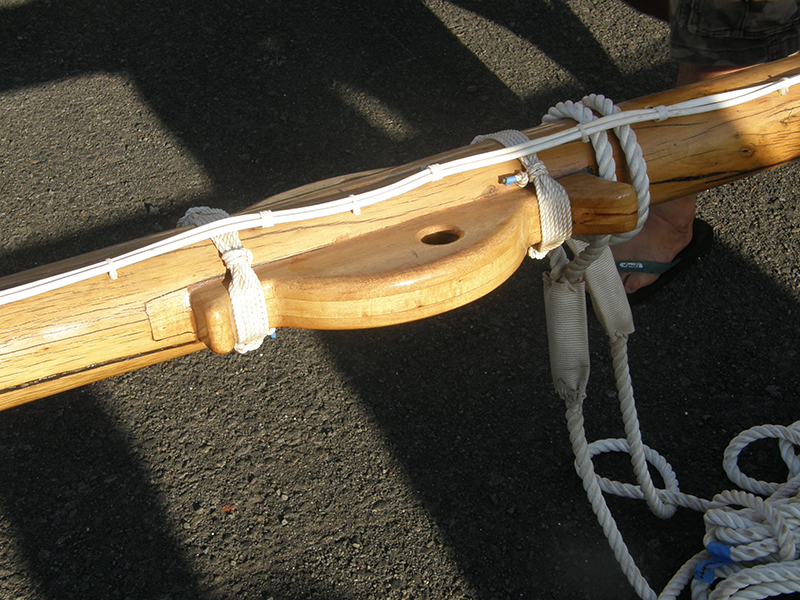
There was one more matter to attend to, which I had not planned ahead for: the bow extension of the deck needed its own ‘iako, attached to the manu. I looked at how this was done on Hokule‘a and realized I needed to mount a block on each front ‘iako. this involved carving a flat area in each one, and carving these little blocks (and drilling them), then gluing them onto the ‘iako. It was delicate work to make them not look too much like last-minute add-ons, but again, I am satisfied with the result:
|
|
Bow ‘iako, Hokule‘a. |
Bow ‘iako, model. |
Okay, now I am ready to make the sails and rig this thing.
|
|