|
|
|
|


July 01, 2014
|
||
Lifeline—that’s a good way to think about cordage generally. Cordage is so fundamental to human activities, it's hard to imagine a world without it. And for the voyaging canoe—both building it and sailing it—rope was absolutely critical. The survival of Polynesians traveling across the Pacific owes as much to rope as to anything else. Traditional rope of any sort is made of strands of natural fiber, usually plant fiber. Ropes made of animal products are subject to rot, shrinkage in the rain, and other problems. And in Hawai`i there were no large animals anyway besides humans—ew! Plant fibers are of finite length, so the art of rope-making involves binding these fibers together in an overlapping fashion to produce a single strand of the necessary length that will hold together. Step one is to identify appropriate plant fibers. You want fibers that are strong, pliable, and durable (that won’t rot easily). There are various options, and depending where you happen to be when you need rope, you can use a range of available plants. The number-one fiber for canoe-lashing throughout the Pacific is coconut fiber. That’s right, coconuts. Now if you’re a temperate-climate reader, a coconut to you is a small, hard, brown ball that you see in the grocery store. Crack it open and the inside is lined with beautiful white flesh. Well, that’s husked coconut. The outside has already been removed. But it’s this husk that is our focus here. The coconut husk is made up of fibers that run its length. Pacific Islanders, of course, have identified which varieties of coconut are better for rope-making (longer ones, generally), which ones for drinking, and so forth. But in any case, the fibers are not going to be more than a foot long. And they’re caked with pithy stuff.
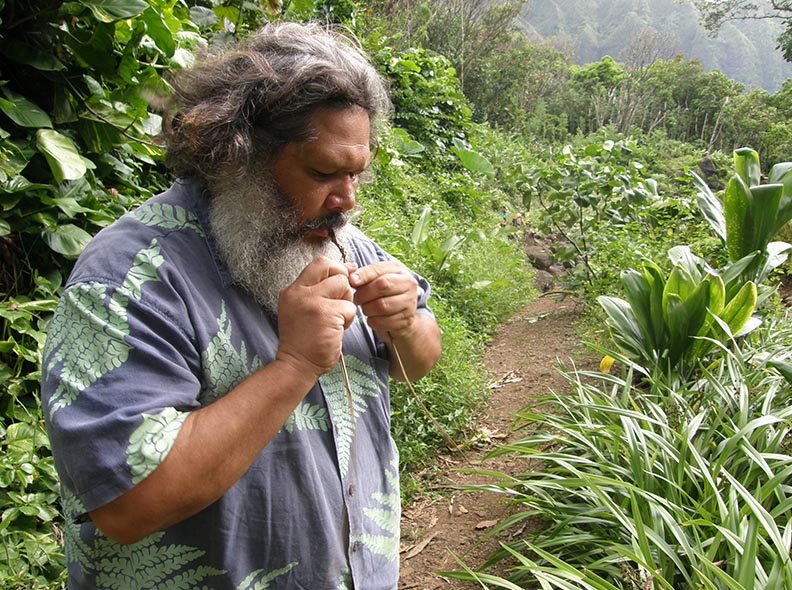
  A Refaluwasch (Carolinian) man demonstrates rolling the fibers on his thigh to make a yarn.
So it’s not intuitively obvious that this is good rope-making material. Pacific Islanders learned that if you soak the fibers in fresh or salt water for several weeks, the pithy stuff comes off easily, leaving clean, strong fibers. Now here’s the neat part: These fibers bind very easily to each other, with a little help. All you have to do is roll them together on your thigh, and you get a strand. Keep adding lengths of fiber as you go, and the strand gets longer and longer. Once you have enough strands, they can be braided or twisted together to make a rope. And those ropes can be braided or twisted together to make an even larger rope. And so forth and so on. The result is known as coconut sennit or coir, and the best of it is stronger than manila rope. Early Western ships arriving in the Hawaiian Islands would trade for coconut sennit for their ships’ riggings. One of its great advantages is its ability to hold up in salt water, so it’s great for seagoing vessels.
In the Mariana islands, the Spanish introduced a mechanical rope twister to do the same job as seen above. That device is shown on the Pacific Worlds website, here: Making Rope at Gef Pago. How does coconut sennit compare to the natural fiber ropes we use today? Its lightness is an advantage for canoe lashing, as is its durability in water. And it floats!. Most coconut coir rope available today comes from Sri Lanka and is very rough. I bought some on eBay, where it seems to be always available and not expensive, but very poor quality compared to the Pacific Islander samples I have. According to Marques Hanalei Marzan at the Bishop Museum, twisted rope wasn’t used as often as braided for lashing Hawaiian canoes. And not thin, three-ply sennit as shown in the photos here, but five-, seven-, or nine-ply braid. It would be almost a half an inch in thickness, and flat. And in this case, he says, it was not woven by braiding pre-made strands, but by twisting and braiding the fibers together at the same time. Once the rope was made, you’d have to clean it up. There would be all those ends of individual fibers poking out. So before you were finished with the process of rope-making, you would have to trim your rope and make it look good. Without scissors. This kind of braided rope was stronger than twisted rope, and a lot thicker. And the flatter surface wouldn’t be as bulky. The spaces between the rounds of lashing would fit more tightly, whereas a round, twisted rope would leave a lot of space in between the cordage.
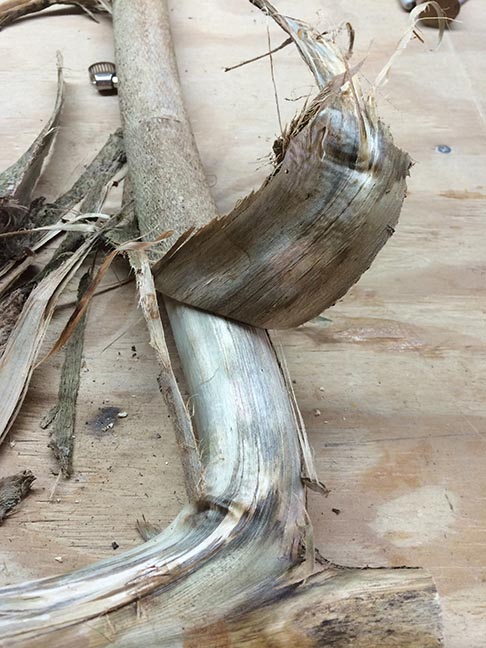
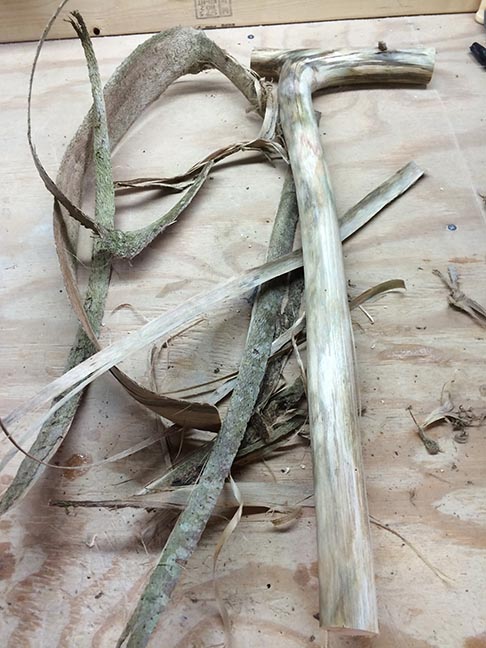
I’m told that there are more than 300 known uses for different parts of the coconut plant, and cordage is certainly a major one. Because coconut palms were so important to Pacific Island cultures, they were pretty widely cultivated and available. But there were other fibers that could be used when coconut was not at hand, or not the best choice, or if you were in a pinch and needed something right then. One of these is the bark of the hau tree—the same tree that Hawaiians used for making the boom—‘iako—of their canoes. Peel the bark from the tree, strip the outer bark (which can also be used, in a pinch) from your peelings, rip the inner bark into strips, twist or braid them together, and away you go.

Ukiuki.
To me a less probable source is the native plant ukiuki. The fibrous leaves are maybe 18 inches long. But tough, apparently! You use the entire leaf. It was especially good for house-building. The real king of Hawaiian fibers is olonā. Olonā is the strongest plant fiber known to humankind and just happens to be a native Hawaiian plant. Olonā cordage is especially good for making fishing lines and nets, for binding two-piece fishhooks, and for making the netting for the great feather cloaks (ahuula) of the Hawaiian chiefs. But since it is not involved in canoe-building, I won't elaborate on it here. You know how in all those cowboy movies, when someone is tied up, the rescuer goes and simply cuts the rope off? Well, even in 19th-century America, making rope was a time-consuming process. My research suggests that while a machine for twisting yarns into ropes was invented in 1780, machines for twisting fibers into yarns didn’t come about until 1850. So I figure rope was not exactly cheap, and cowboys probably took care of what they had. They would have bothered to untie the man’s hands and save the rope, not cut it off!
Rope is simply too valuable, and too useful, to waste. And for lashing together a voyaging canoe, you needed an enormous quantity of it, as we will see in the next installment. —RDK Herman Next: Part 9: Lashing the booms to the hull
|
||

|
||


Copyright 2016, Pacific Worlds & Associates |
